
Many VW and Audi models from the 2000s (including the VW Passat B6/B7, VW Passat CC, VW Tiguan 5N, Audi A6 4F and Audi A8 4E, among others) have an electronic parking brake (EPB) on the rear axle with a dedicated control module 53 Parking Brake, which is addressed via the KWP2000 protocol: each rear brake caliper contains an actuator motor that applies the parking brake via a spindle inside the brake piston. Before you replace the rear brake pads, you have to retract this spindle using diagnostics – otherwise you’ll be working against the mechanism when pushing the piston back, damaging the actuator motor or the spindle inside the caliper.
In CarPort you do this at control module 53 Parking Brake via the Basic Settings using three blocks:
| Block | Function |
|---|---|
| 007 | Open parking brake – spindles retract, pistons are released |
| 006 | Close parking brake – the brake reapplies after the pad change |
| 010 | Function test – the parking brake opens and closes 3 times, learning the new pad position in the process (calibration) |
The diagnostic procedure is only needed for the rear axle. You replace the front pads conventionally without a diagnostic tool.
1. Requirements
- The diagnostic interface is connected (the status bar at the bottom shows, e.g., “Connected with K+CAN. Adapter ready.”)
- Ignition on, engine off
- Battery charger connected (see box below)
- Parking brake released (indicator light off) – with the parking brake applied, the basic setting cannot be started. On these vehicles you have to press the brake pedal to release it via the switch.
- Vehicle safely jacked up or on the lift, rear wheels removed
⚠️ Why the charger is mandatory: Throughout the entire procedure the ignition stays on for an extended period – control modules, lights and fans draw a lot of current while the alternator isn’t recharging. On top of that come the actuator motors themselves: they need a lot of current while moving, and when they hit their end stop – fully retracted when opening, at full clamping force when closing – brief load peaks occur at both calipers simultaneously. Control module 53 needs at least 12.0 volts of on-board voltage for the basic settings and is very sensitive to undervoltage: if the voltage drops, the process may abort, faults are stored, in the worst case the parking brake stays stuck in the open position – and in extreme cases even the control module itself is damaged. That’s why you should connect a battery charger before the start and leave it connected until the pad change is finished.
2. Open parking brake (Block 007)
- Select control module 53 – Parking Brake.
- Switch to the Basic Settings tab.
- Enter
7under Current Block (or select 007 open parking brake from the list) and click Set. - Click Start.
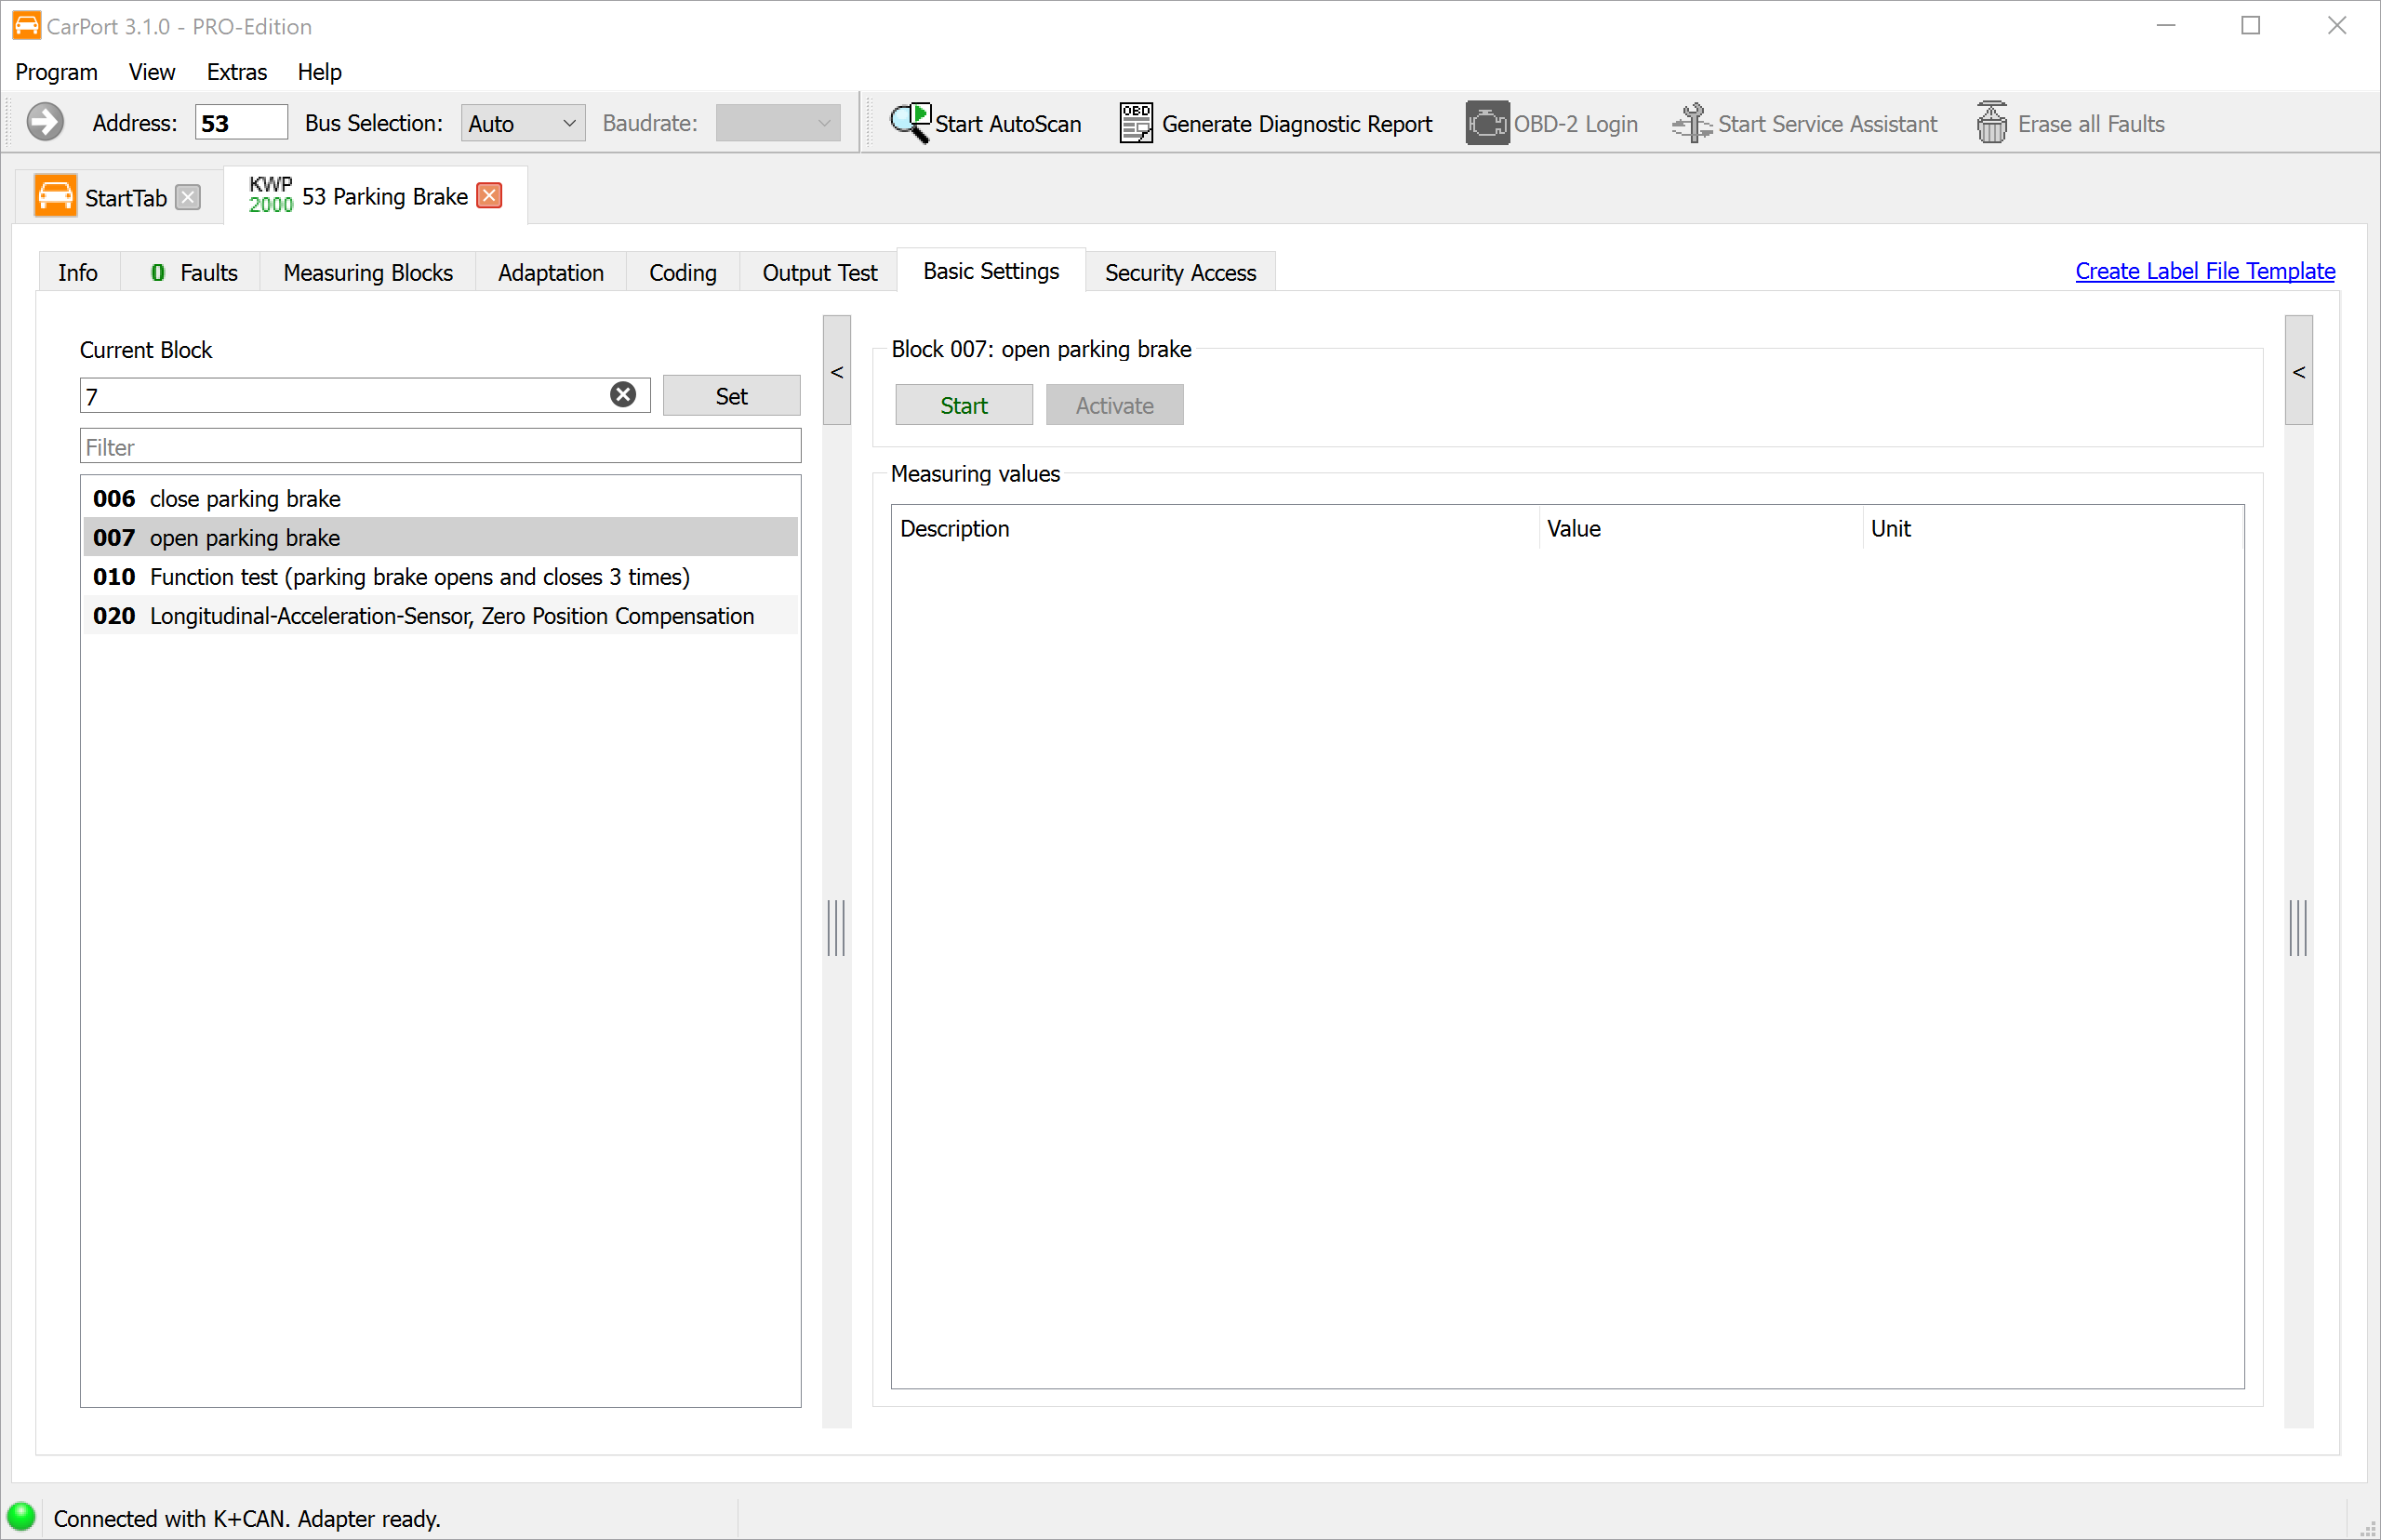
The actuator motors now audibly open and release the pistons.
⚠️ Wait 30 seconds: After the actuator motors fall silent, wait at least 30 seconds before performing the next step. Due to a firmware issue, the control module on some vehicles can be damaged if you continue too soon. This waiting time applies after each of the three blocks (007, 006 and 010).
Important: The pistons do not retract on their own. The actuator motor only pulls the spindle inside back and releases the piston – you have to push the piston back yourself afterwards (step 3).
3. Replace the pads
You may switch off the ignition to do the wrenching – the actuator motors stay in the open position. Leave the charger connected.
- Push the brake piston back straight with a piston retractor tool – do not turn it! Unlike calipers with a mechanical handbrake, the EPB piston is only pushed; you have already retracted the spindle via diagnostics.
- While doing so, keep an eye on the brake fluid level in the reservoir: the level rises as you push the piston back. If fluid has been topped up in the meantime, the reservoir can overflow – siphon off some beforehand if needed (brake fluid attacks paint).
- Replace the pads (and discs if applicable) as usual.
⚠️ Never operate the parking brake switch and do not start any basic setting while the brake is disassembled or the pads are removed! The spindles would run into empty space or push the piston out without pads in place – risk of injury and damage. All three blocks may only be run with the pads and calipers fully installed.
4. Build up brake pressure
After reassembly, press the brake pedal several times until it is firm and offers resistance. Only then do the pistons with the new pads rest against the disc – this is a prerequisite for the next step.
5. Close parking brake (Block 006)
- Switch the ignition back on and reopen 53 – Parking Brake → Basic Settings.
- Enter
6under Current Block (or select 006 close parking brake) and click Set. - Click Start and wait until the actuator motors have finished – then pause for another 30 seconds.
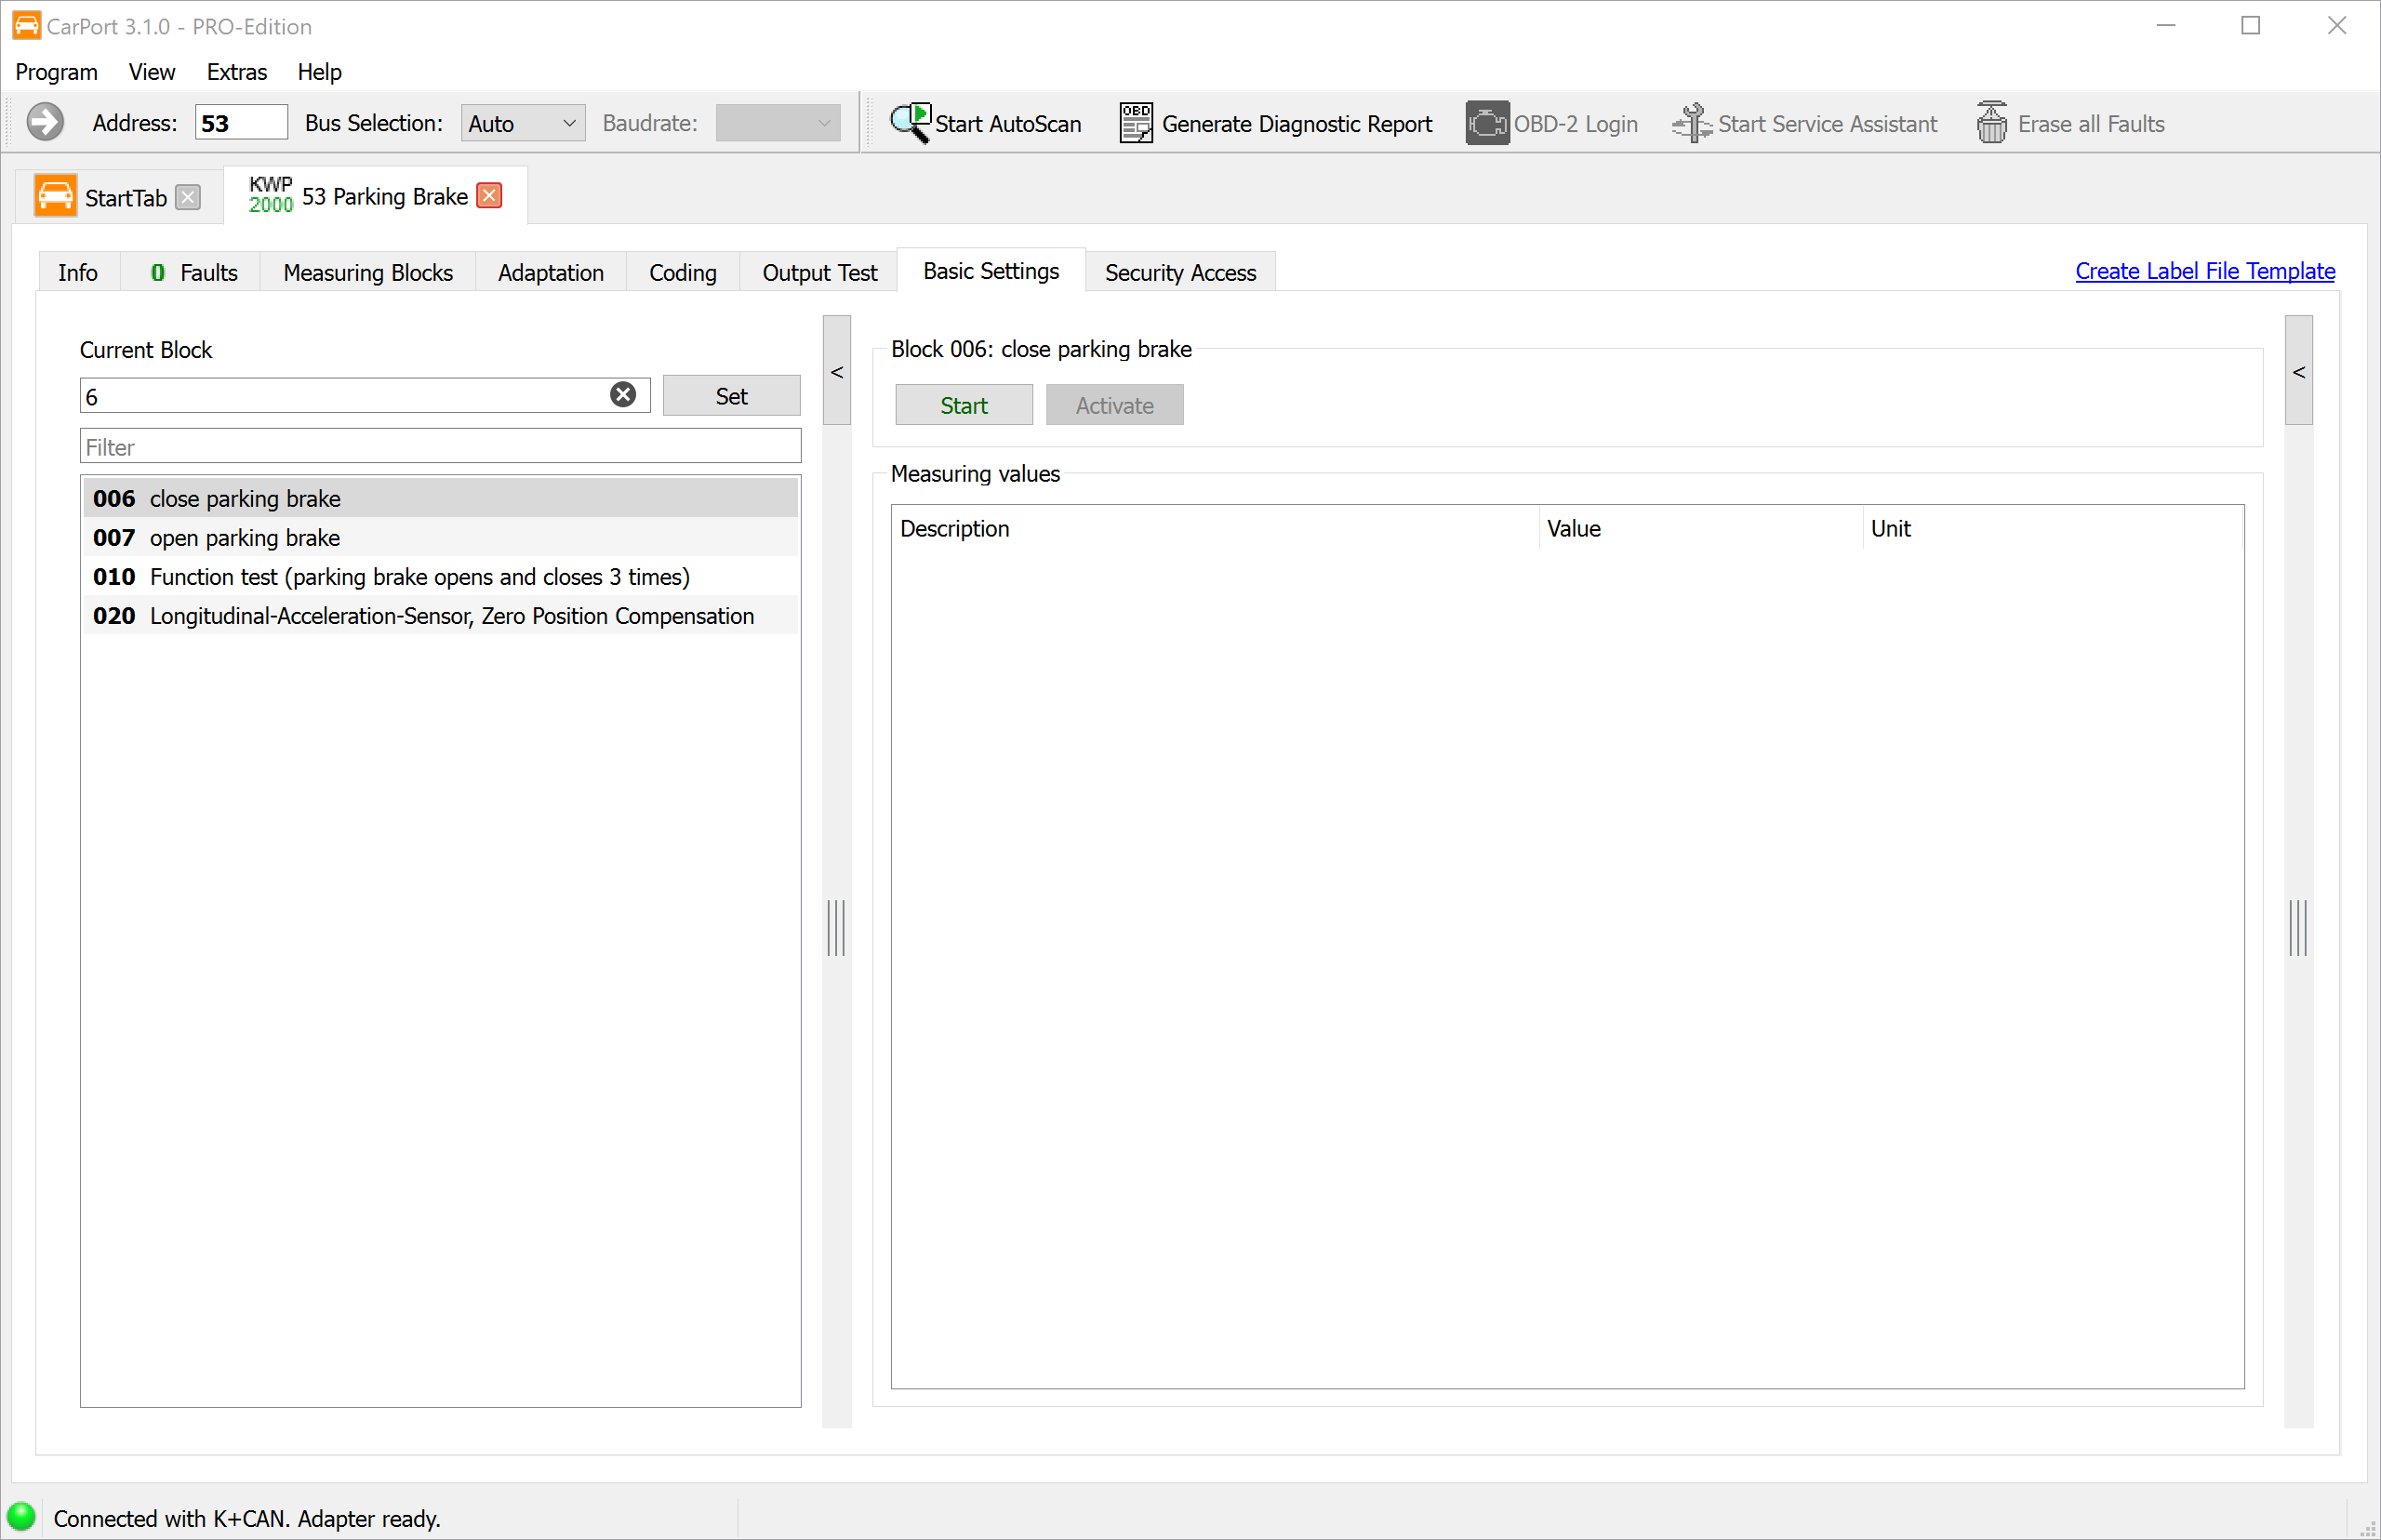
Unlike on newer vehicles (e.g., the MQB platform, where ending lining change mode takes care of the calibration at the same time), the pad change is not finished yet here: the function test follows as a separate calibration step.
6. Calibration: Function test (Block 010)
- Enter
10under Current Block (or select 010 Function test (parking brake opens and closes 3 times)) and click Set. - Click Start.
The parking brake now opens and closes 3 times in a row. With these apply/release cycles the control module checks the function of the actuator motors and learns the position of the new pads – only then are clamping force and travel correct again. Here too, wait 30 seconds after the last cycle before continuing.
7. Check the result
- Check the fault memory of control module 53 and clear it if necessary. After a correctly performed procedure, no fault codes should be reported anymore.
- Operate the parking brake several times via the switch with the brake pedal pressed: apply and release again. The indicator lights must be off afterwards.
- Before the first drive, press the brake pedal several more times until it is firm.
8. Notes
- 30-second rule: After each block (007, 006, 010), only continue once the actuator motors have been silent for at least 30 seconds – otherwise, with some control module firmware versions, there is a risk of damaging the control module.
- Release the parking brake first: If the parking brake is still applied when you start Block 007, the basic setting cannot be performed. Release it first, then start.
- Abort due to undervoltage: If the process aborts, charge the battery or connect a charger, clear the fault memory and repeat the procedure from step 2.
- Block 020 is not part of the pad change: The zero position compensation of the longitudinal acceleration sensor is only needed after replacing the control module or the sensor and must be performed on a level surface.
- Bedding in: Break in new pads gently over the first roughly 200 km and avoid unnecessary full stops so that pads and discs seat against each other.
- Rear axle only: Blocks 006/007/010 concern exclusively the rear calipers with EPB actuator motors.