
Getting started
Your first diagnosis in just a few minutes: connect the adapter, start CarPort, let it detect the hardware, and establish the connection to your first ECU.
Program start & hardware scan
Start CarPort from the desktop shortcut or the Start menu. You'll land directly on the start page.
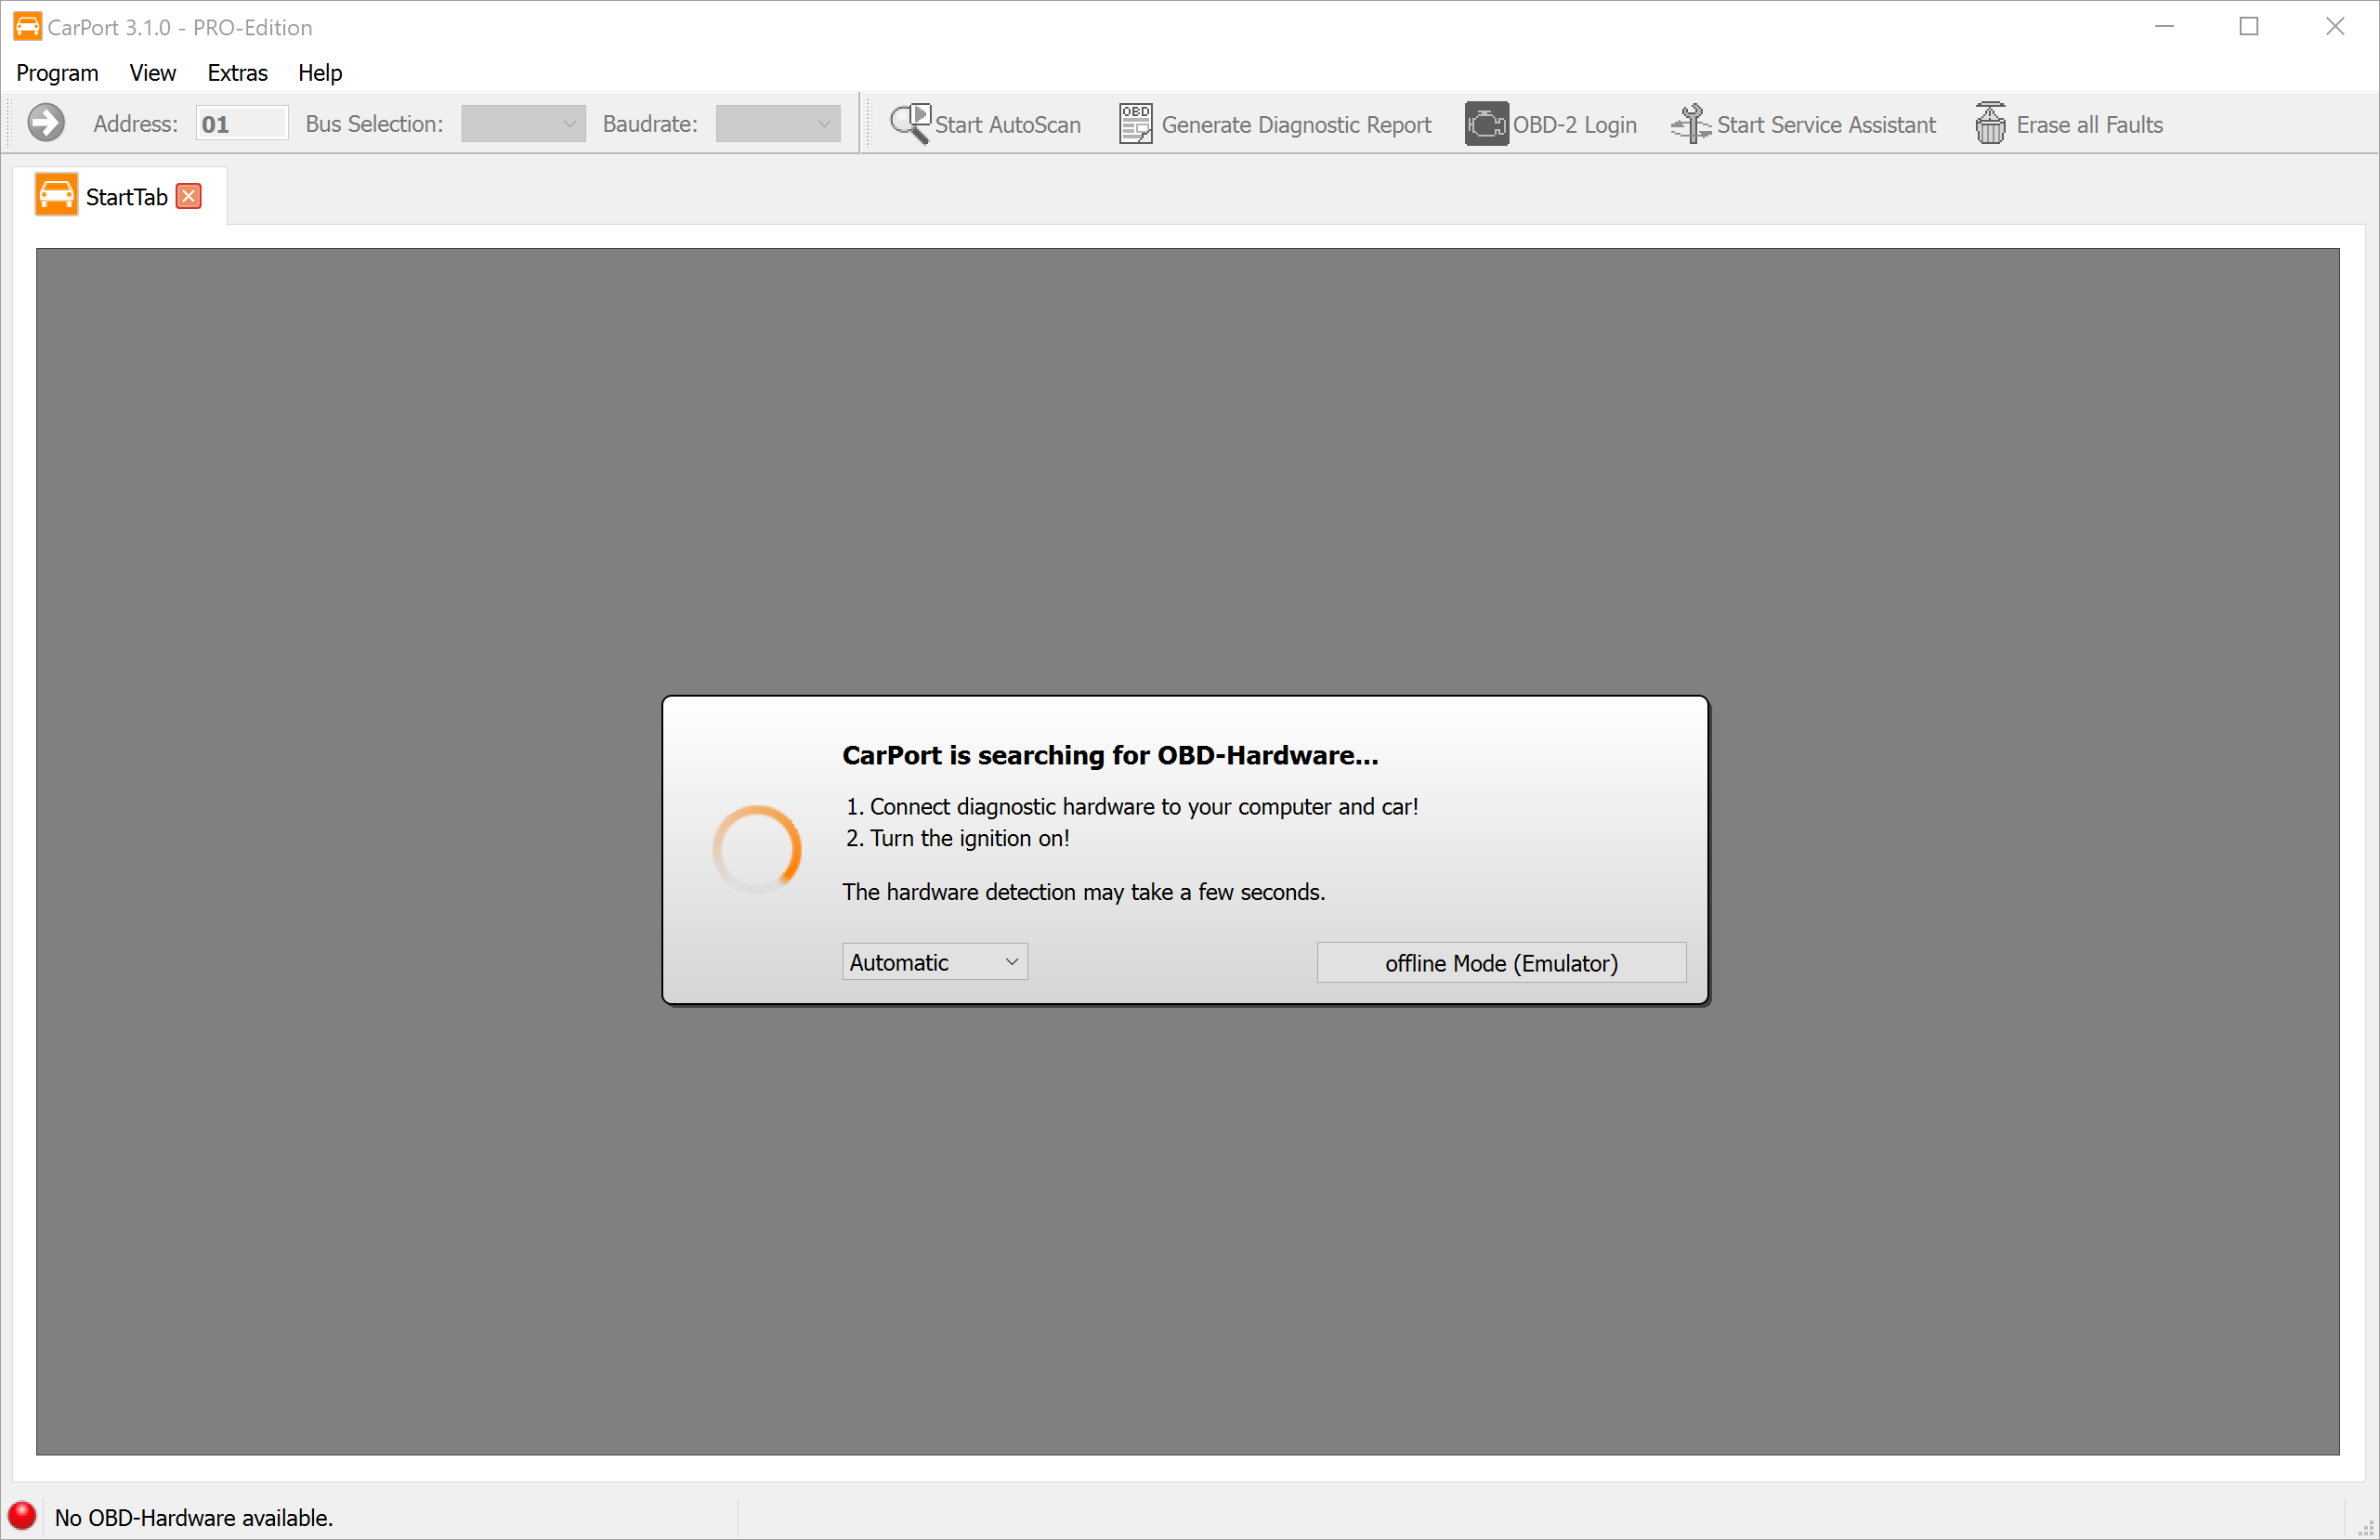
The software automatically starts scanning all available ports (USB, COM ports) for a connected diagnostic interface. This usually takes only a few seconds.
Important notes on connecting:
- Order: Ideally, connect the interface to the vehicle first (OBD port) and then to the USB port of your laptop.
- KKL interfaces: Pure KKL adapters (e.g., AutoDia K409) strictly require power from the vehicle in order to be detected. If the adapter isn't connected to the car, the scan won't find it.
- Ignition: Switch on the vehicle's ignition so that the ECUs are active and can respond.
Offline mode (emulator)
You can also explore CarPort without a connected diagnostic interface and without a vehicle. Click offline Mode (Emulator) to start a simulation. CarPort then behaves as if it were connected to a (virtual) VW Golf 4. This is a great way to get to know the menus and functions without any risk. Note: The emulator simulates an older KWP1281 vehicle. Newer UDS functions can't be tested here.
Start page
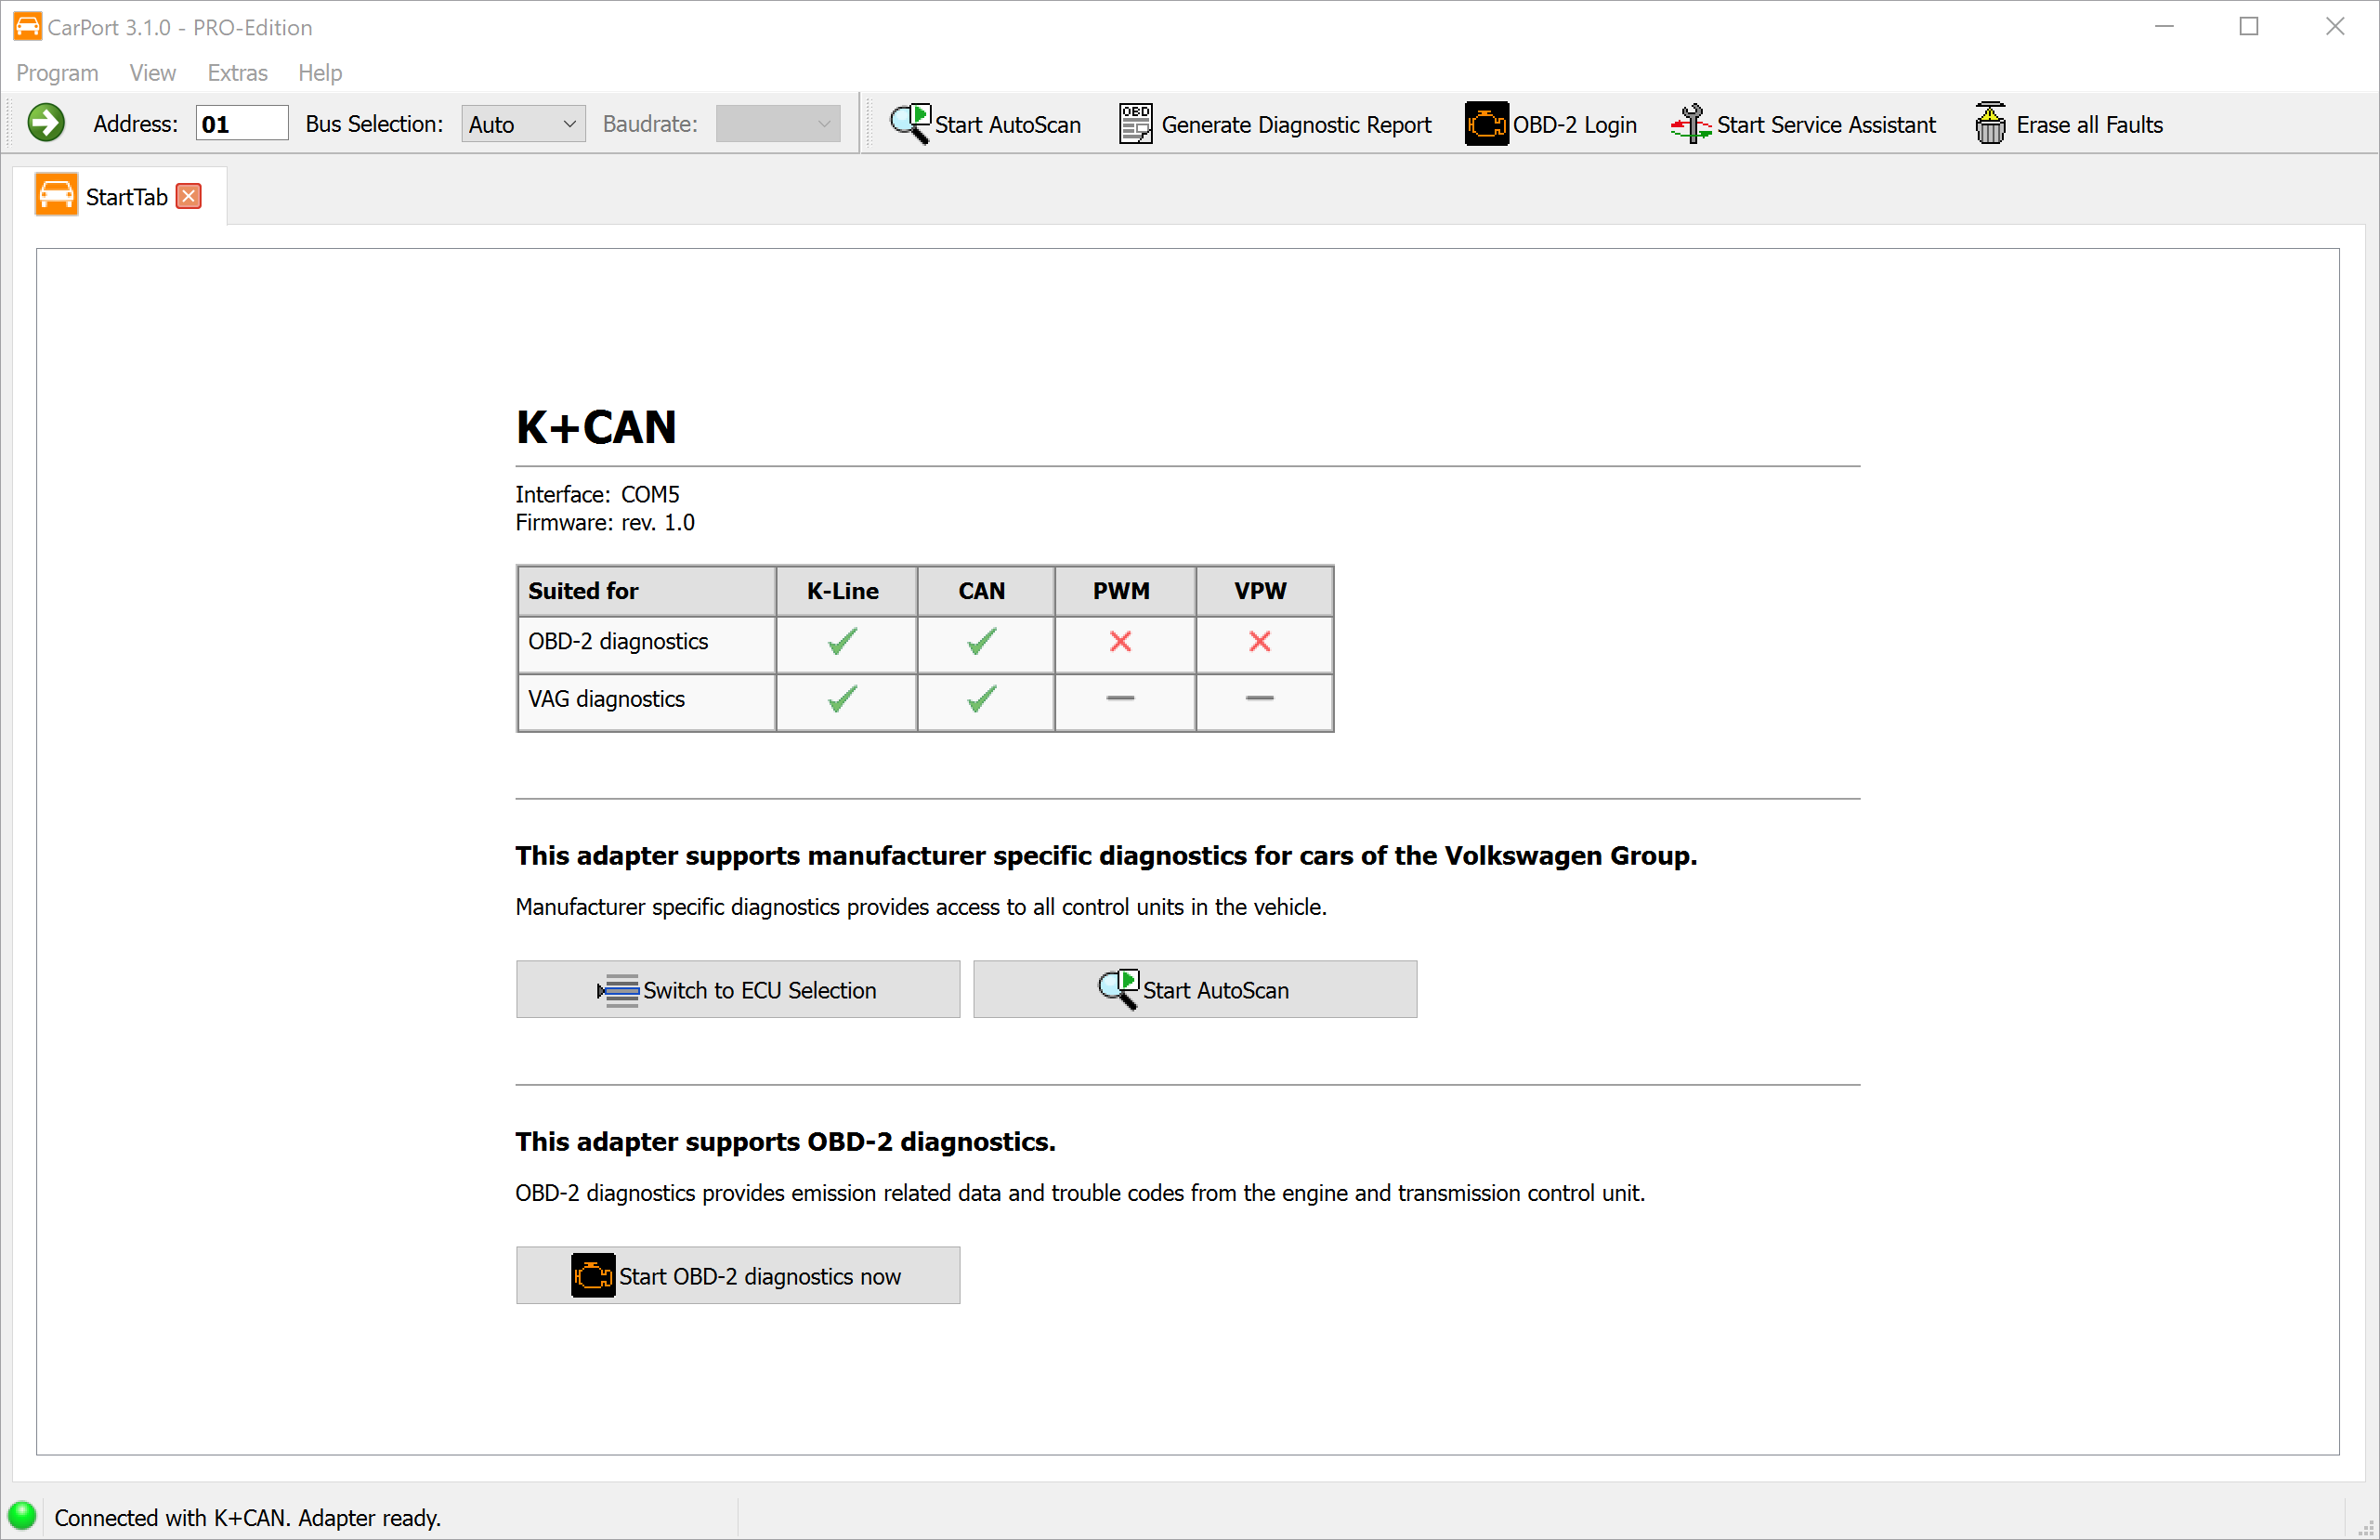
As soon as an interface has been found, CarPort shows an overview of its properties and capabilities. From here, you have three ways to continue:
- ECU selection: The direct route to a specific system (e.g., the engine).
- AutoScan: An automatic full check of all vehicle systems (see AutoScan).
- OBD2 diagnostics: Start generic OBD2 diagnostics.
💡 Note: With pure OBD2 interfaces (e.g., ELM327), ECU selection and AutoScan aren't available, because these adapters technically only allow access to OBD2 diagnostics.
ECU selection
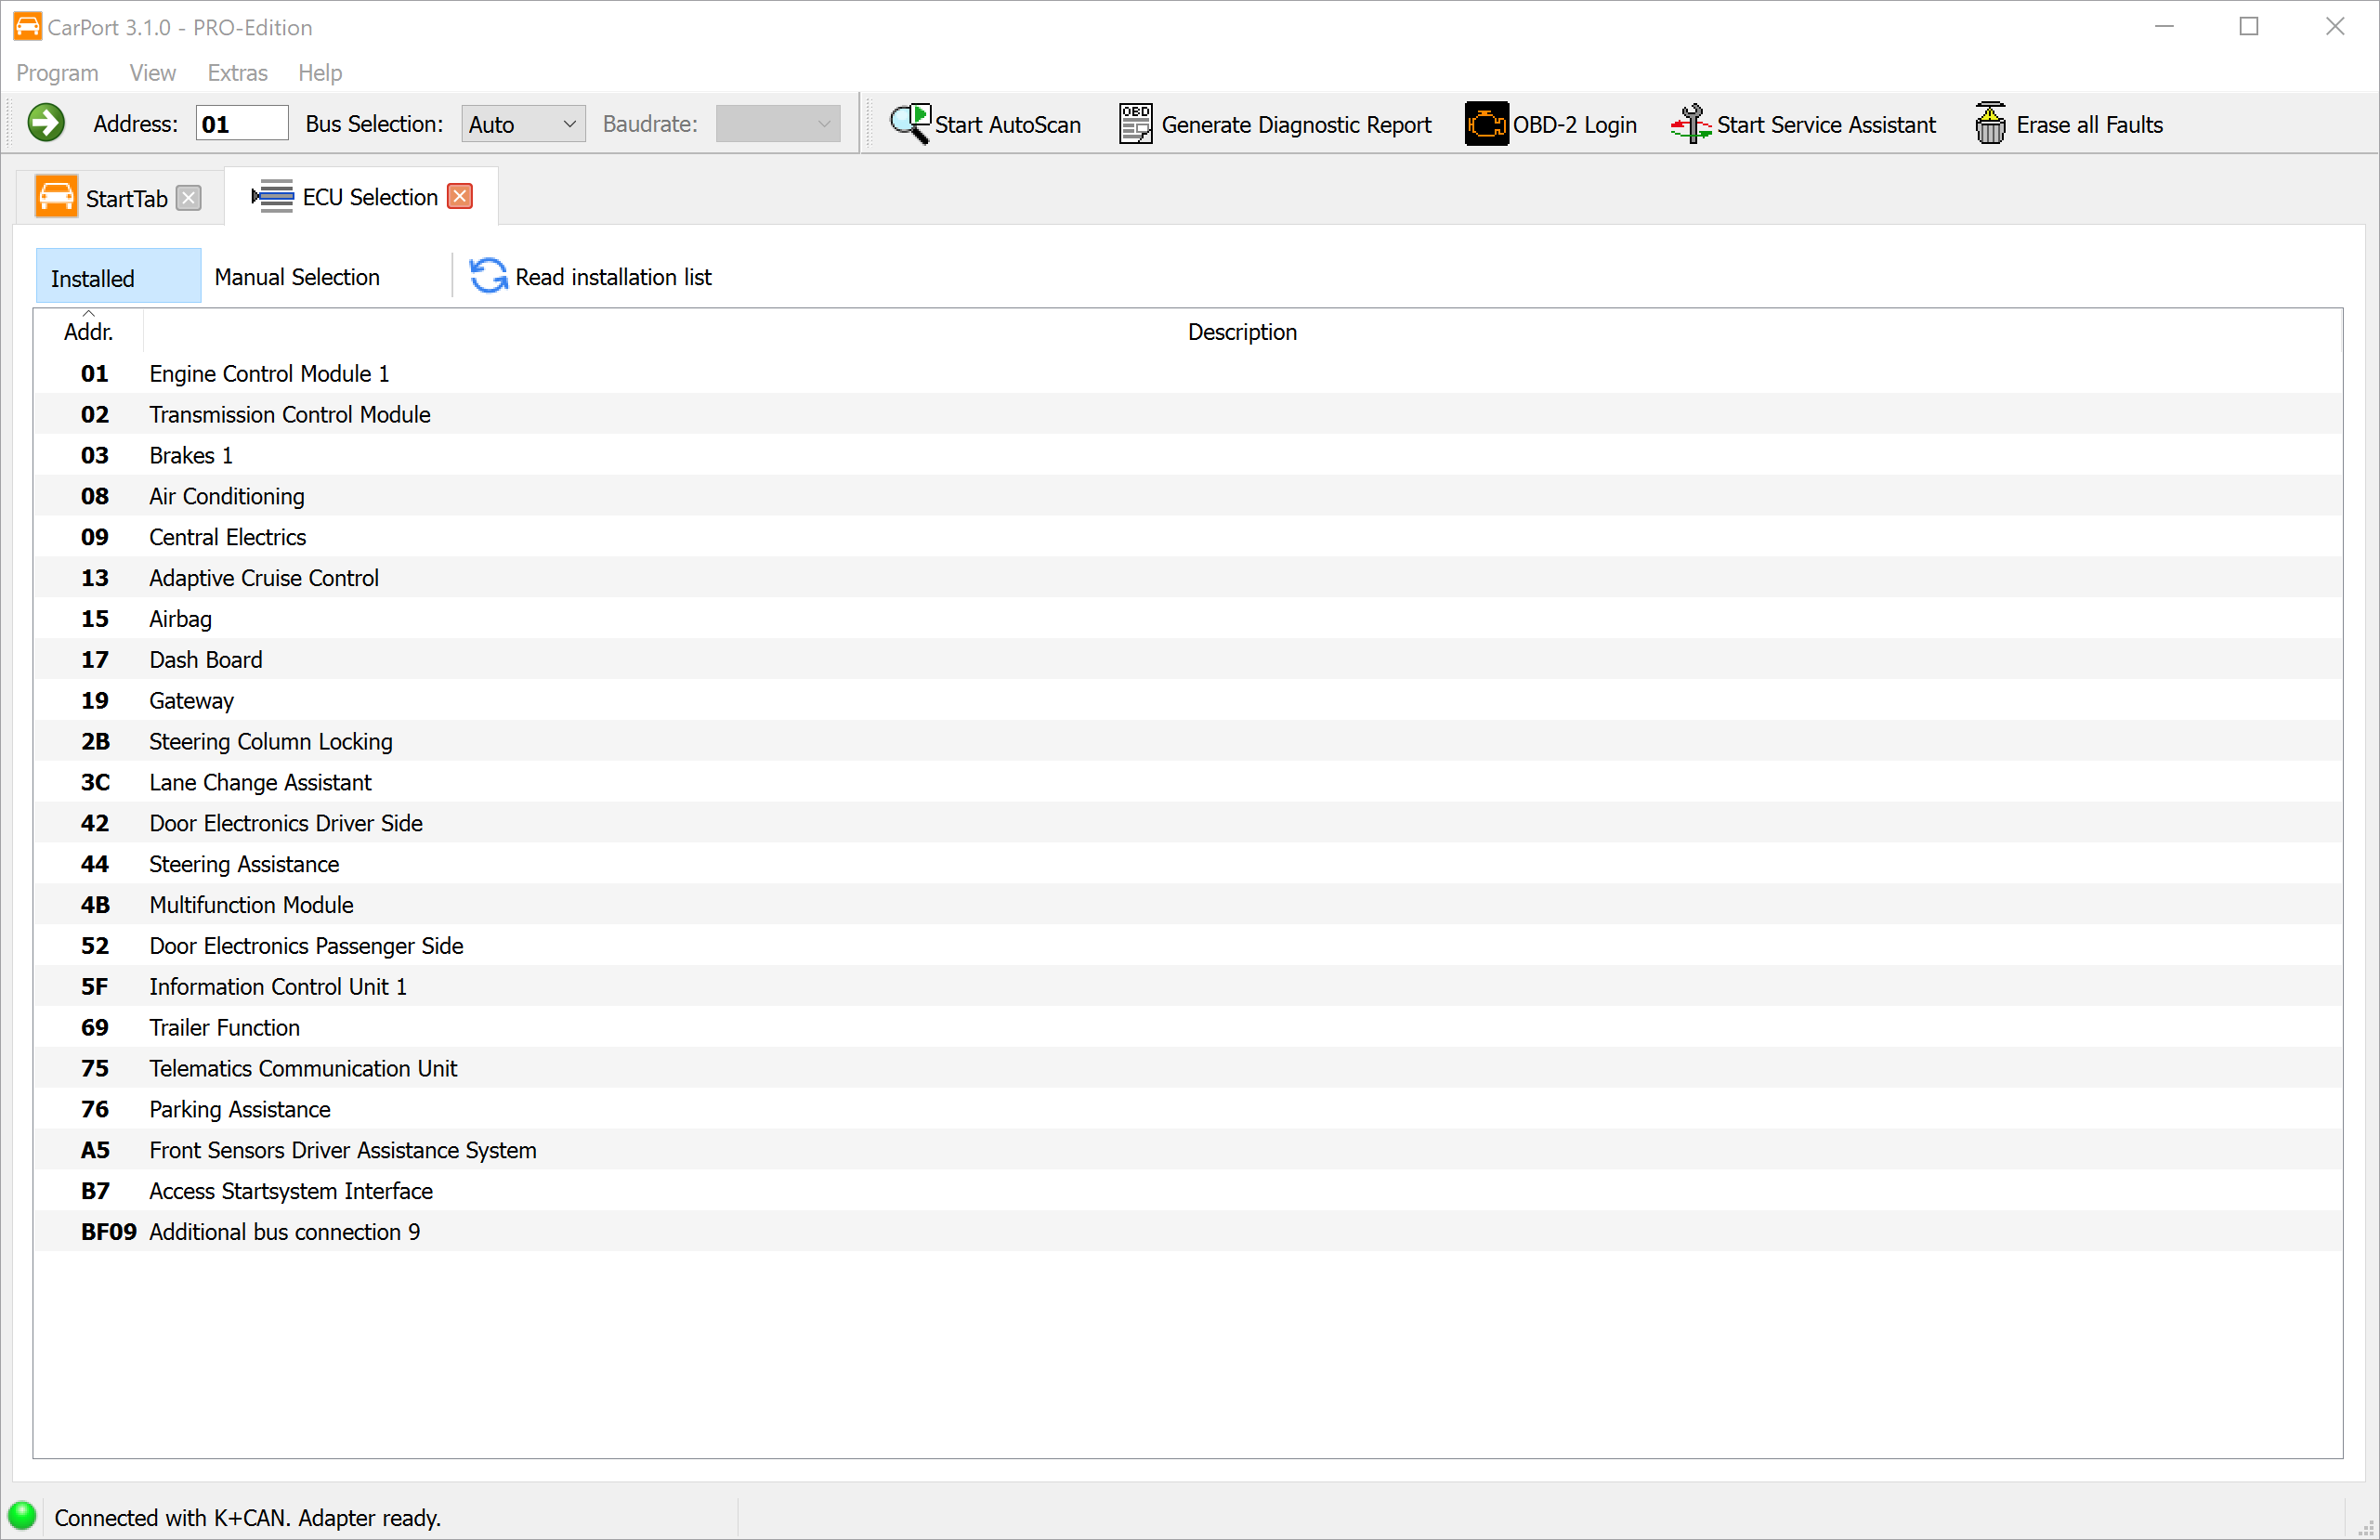
The ECU Selection tab is your hub for connecting to the individual vehicle systems.
Automatic installation list (Installed tab)
On modern vehicles (with CAN gateway), CarPort automatically asks the central gateway which ECUs are installed in the car.
- Advantage: You only see the ECUs your vehicle actually has.
- Operation: Double-click an entry (e.g.,
01 - Engine Control Module 1) to establish the connection. - Refresh: Click the
Read installation listbutton to run the query again.
Manual selection (Manual Selection tab)
Use this tab for older vehicles (K-Line without gateway) or if automatic detection fails.
- At the top, select your vehicle model (or a generic scan list).
- CarPort now shows all possible ECUs for this model.
- Double-click an ECU to connect.
(Note: Since nothing is checked here, you may end up trying to open ECUs that don't even exist in your vehicle's equipment variant. CarPort then reports a connection error.)
Establishing the connection
As soon as you've selected an ECU by double-clicking it, CarPort tries to establish communication. Once the connection is established, a new tab opens for that ECU, and you have access to all diagnostic functions—from the fault memory and measured values to coding and adaptation.
In the toolbar, you can also use Bus Selection: to choose how the connection is established. The options are Auto (automatic detection), K-Line, and CAN. If you select the K-Line manually, you can also set the baud rate. As a rule, Auto is the right choice—manual selection is only necessary in exceptional cases, such as communication problems or special ECUs.
💡 Tip: You can also type an ECU's address (e.g., 17 for the instrument cluster) directly into the input field in the upper toolbar and press Enter to connect.